World Assets
Every tile on the map tells a story. Resource deposits fuel your economy, contested nodes test your military might, and terrain features shape every tactical decision.
Finite Deposits
One-time resource nodes that deplete after extraction. Found scattered across newly cleared territory.
Scrap Heap
Piles of salvageable metal from pre-Scourge wreckage. The most common deposit type — low value per unit but found everywhere in newly cleared territory.

Crystal Vein
Crystallized energy formations jutting from the ground. Provides refined materials essential for T3+ mech construction and advanced harvester upgrades.
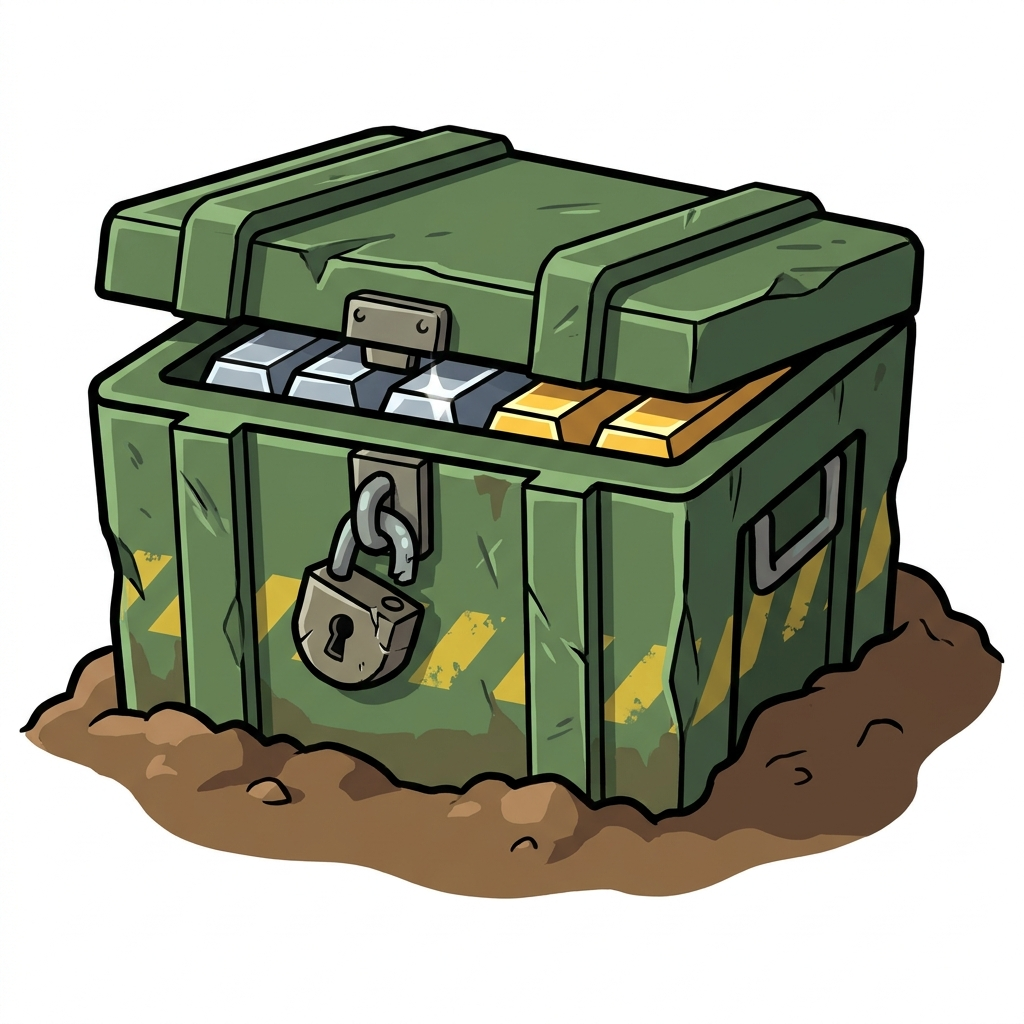
Alloy Cache
Sealed containers of pre-war composite alloys. Rare find that yields high-grade materials in a single extraction — perfect for bulk upgrades.
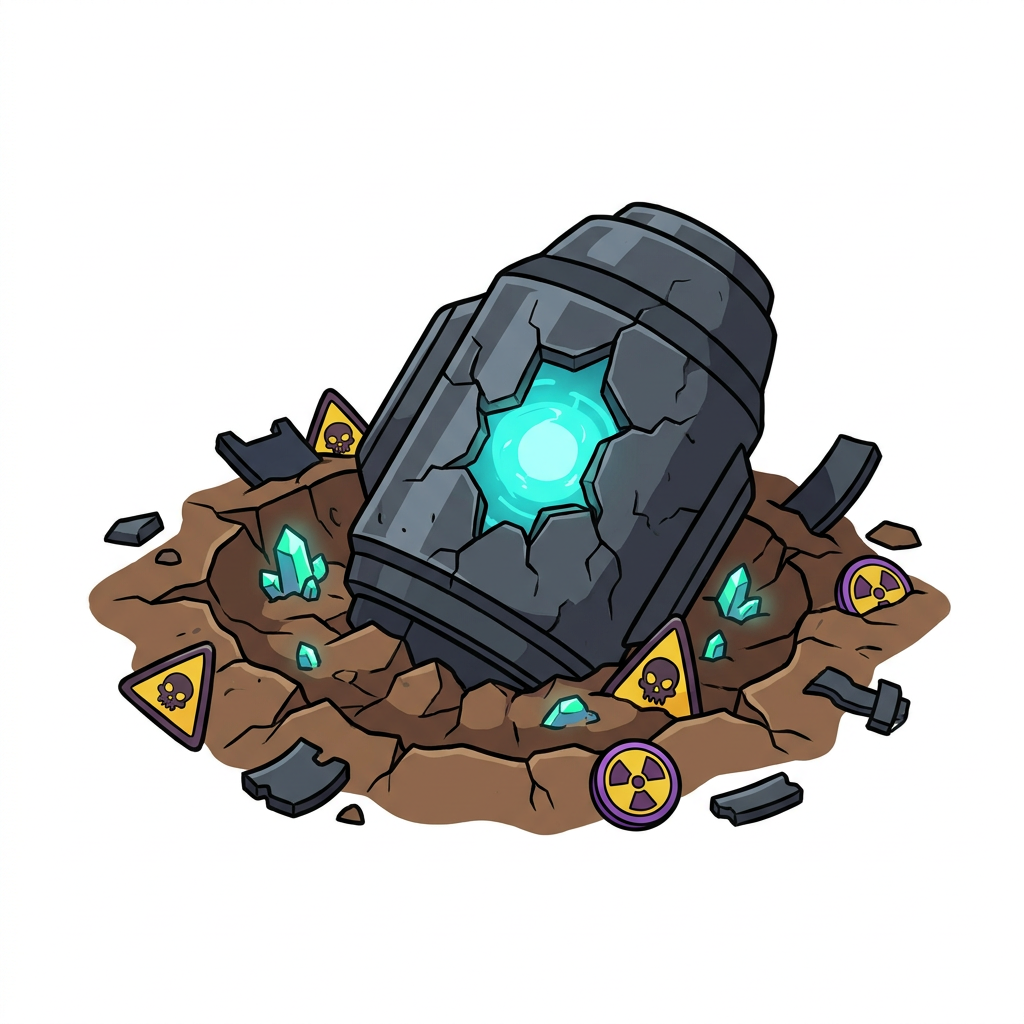
Fusion Core Wreck
Remnants of destroyed fusion reactors still leaking harvestable energy. Extremely valuable but depletes quickly. Used in T5+ mech fusion processes.
Renewable Nodes
Regenerating resource sources that provide steady income over time. Strategic positioning is key.
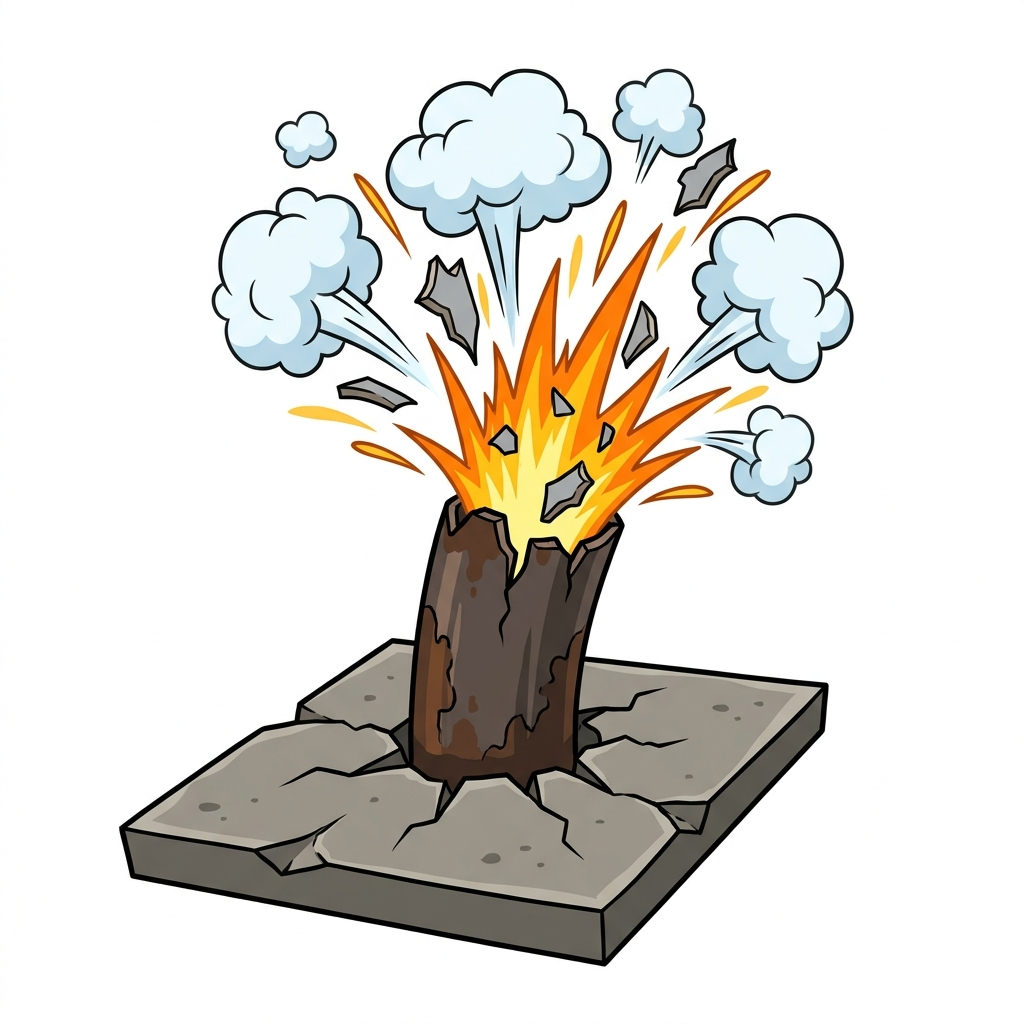
Scrap Geyser
Subterranean pressure forces salvageable materials to the surface in periodic bursts. Regenerates every few minutes — a reliable income source for patient commanders.
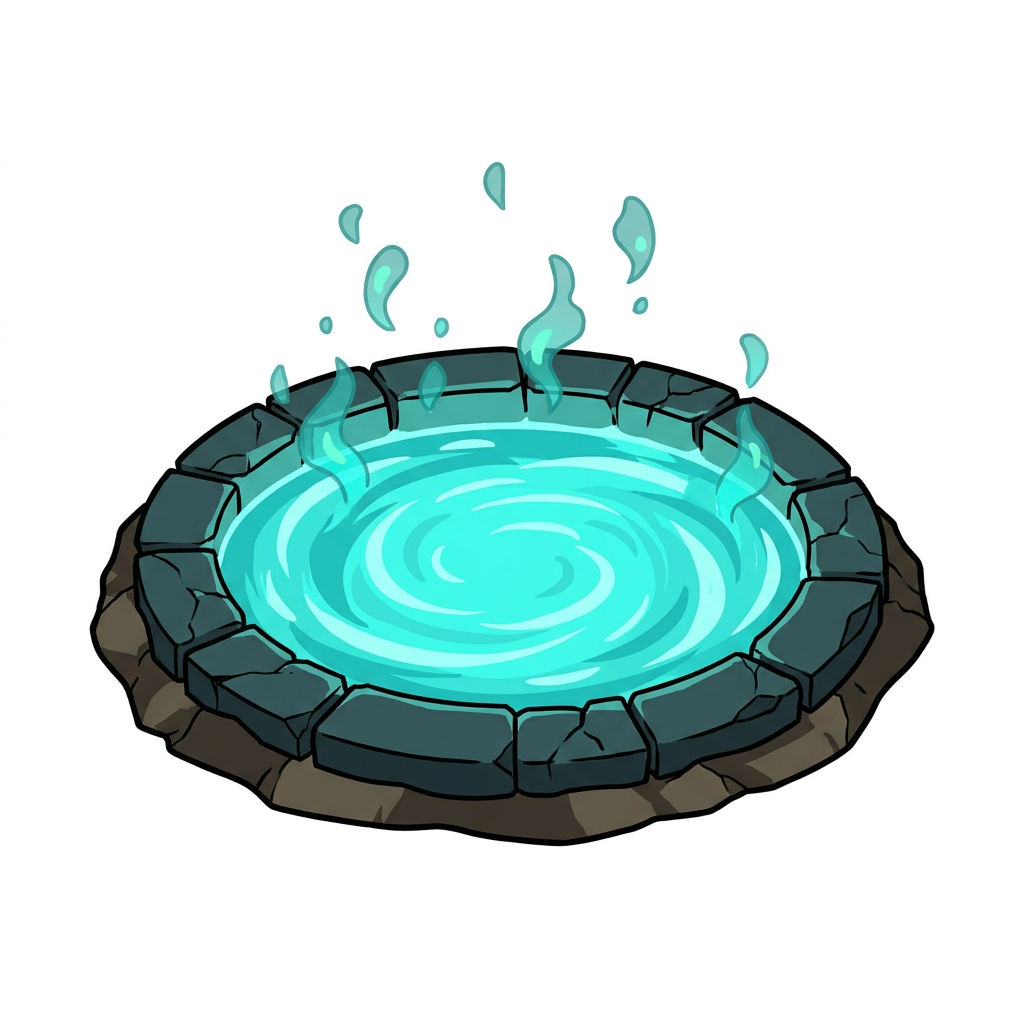
Energy Well
Natural energy seepage from underground power conduits. Provides a steady trickle of refined energy that harvesters can continuously siphon without depletion.
Contested Nodes
Enemy-held resource points requiring military harvesters to capture and defend. High risk, highest reward.
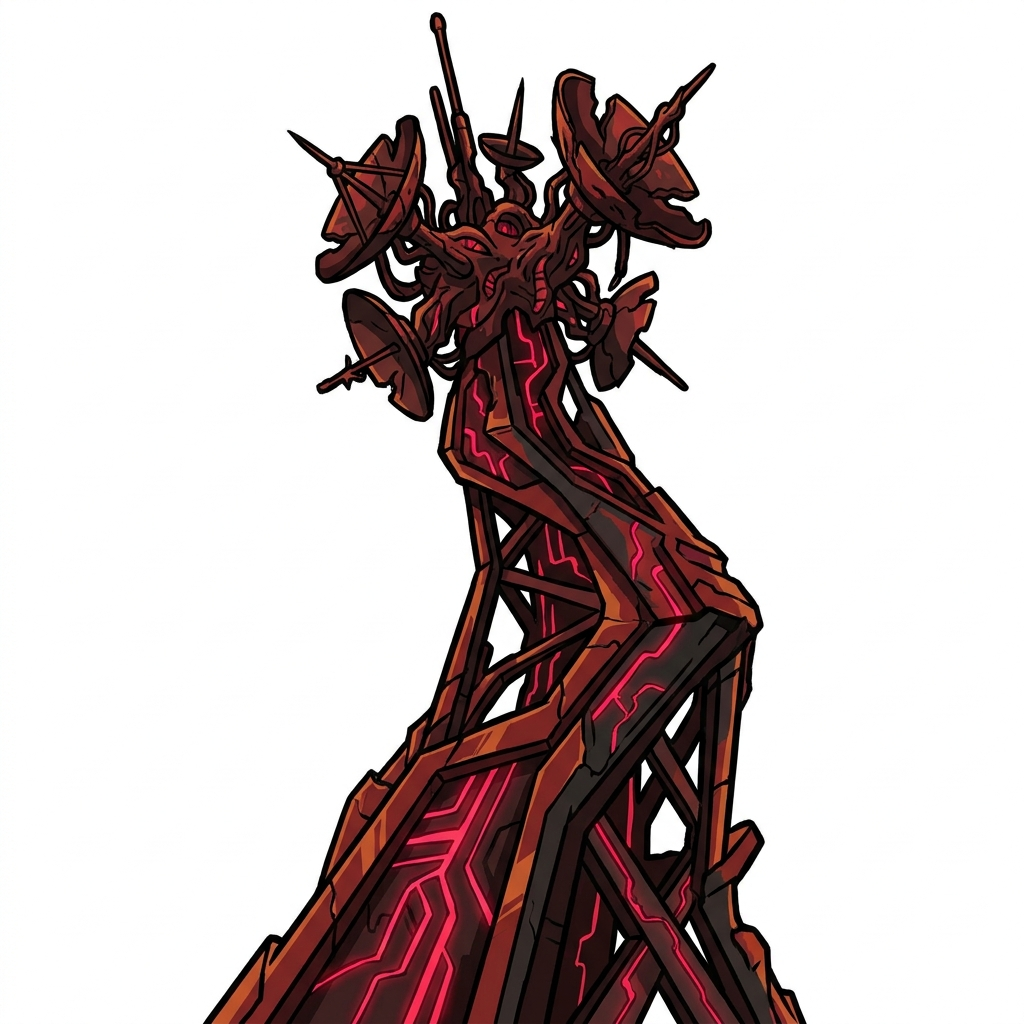
Scourge Relay
Active Scourge communication hub broadcasting corruption signals. Capturing it disrupts enemy reinforcements and yields rare Scourge tech components.
Abandoned Depot
Former human supply depot now crawling with Scourge patrols. Contains stockpiled resources from before the fall — worth the fight to reclaim.
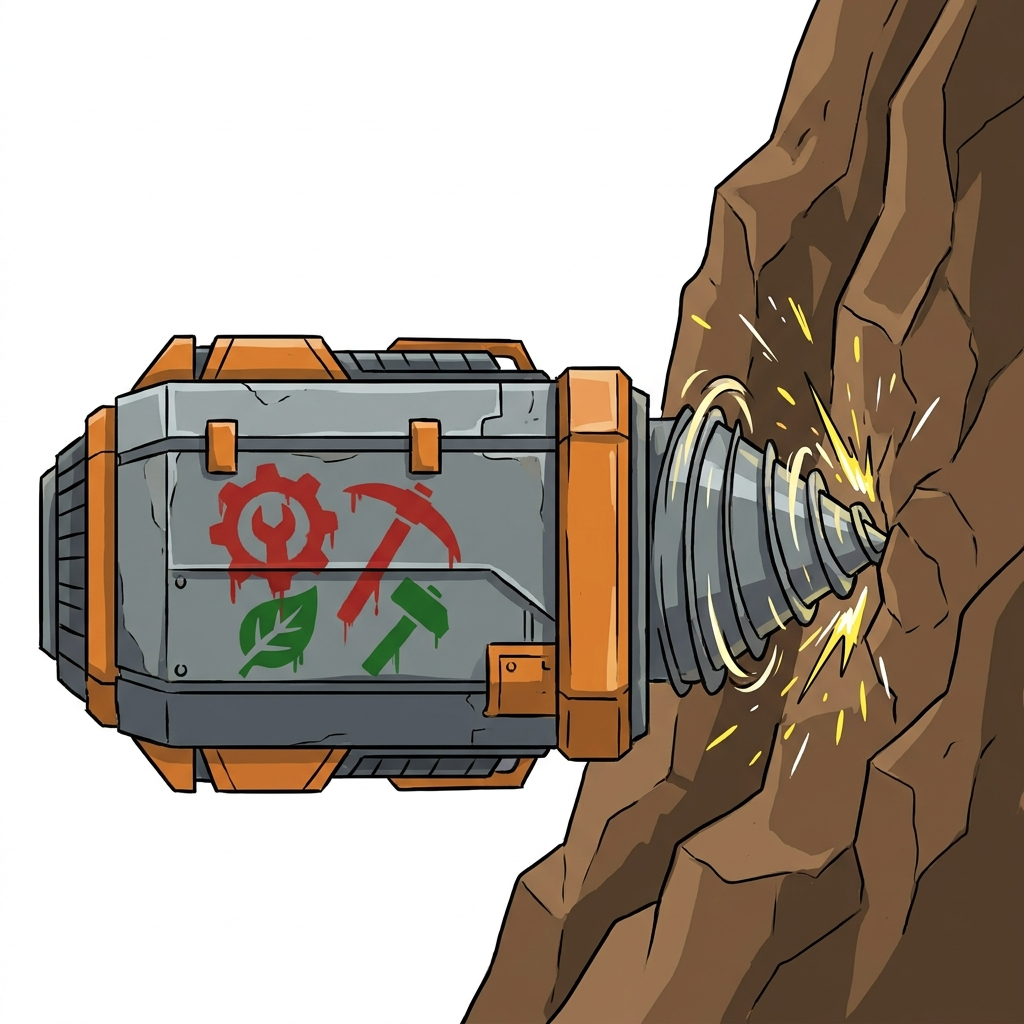
Contested Drill
Deep-core extraction rig still operational but under enemy control. The highest-yield renewable node in the game, but requires military harvesters to hold.
Terrain Features
Environmental elements that shape the battlefield. Use them to your advantage — or watch them cost you.
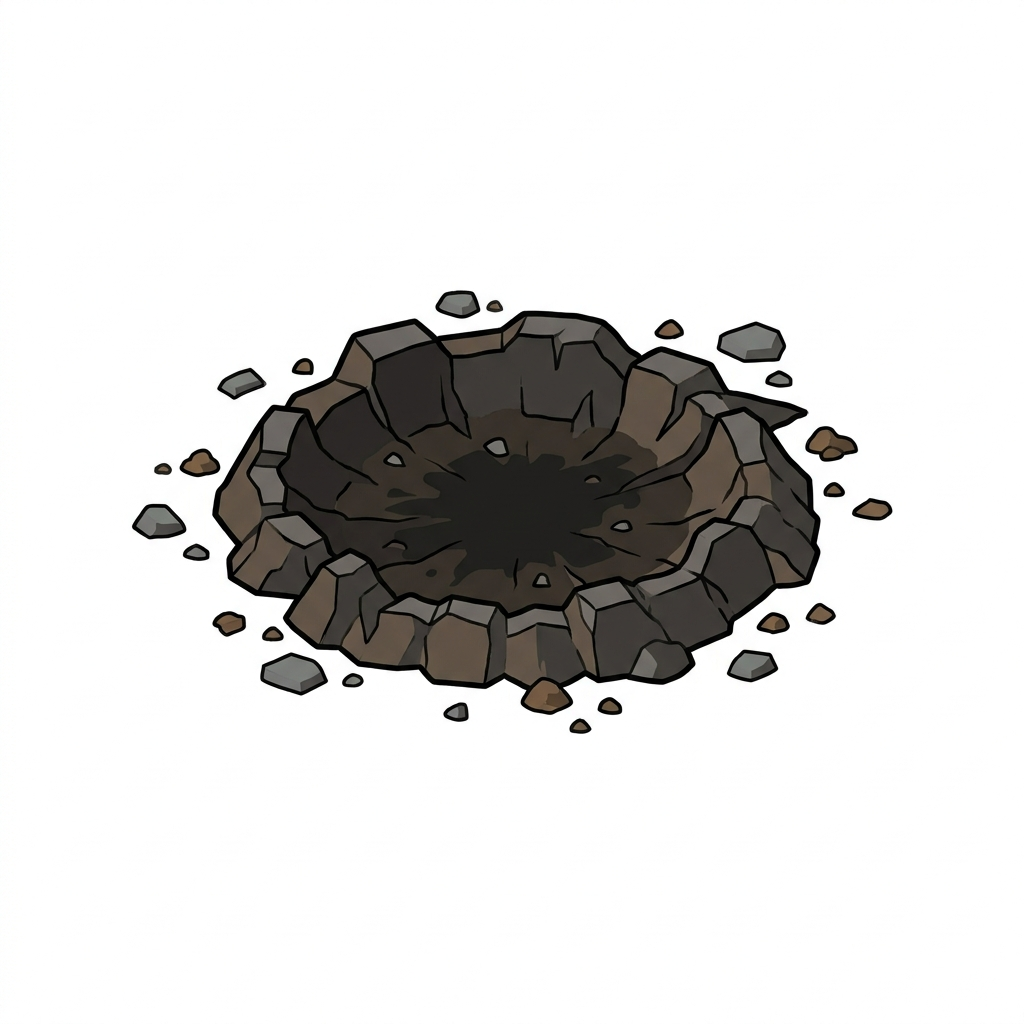
Crater
Impact craters from orbital bombardment. Provides partial cover for units inside but slows ground movement. Can contain buried deposits.
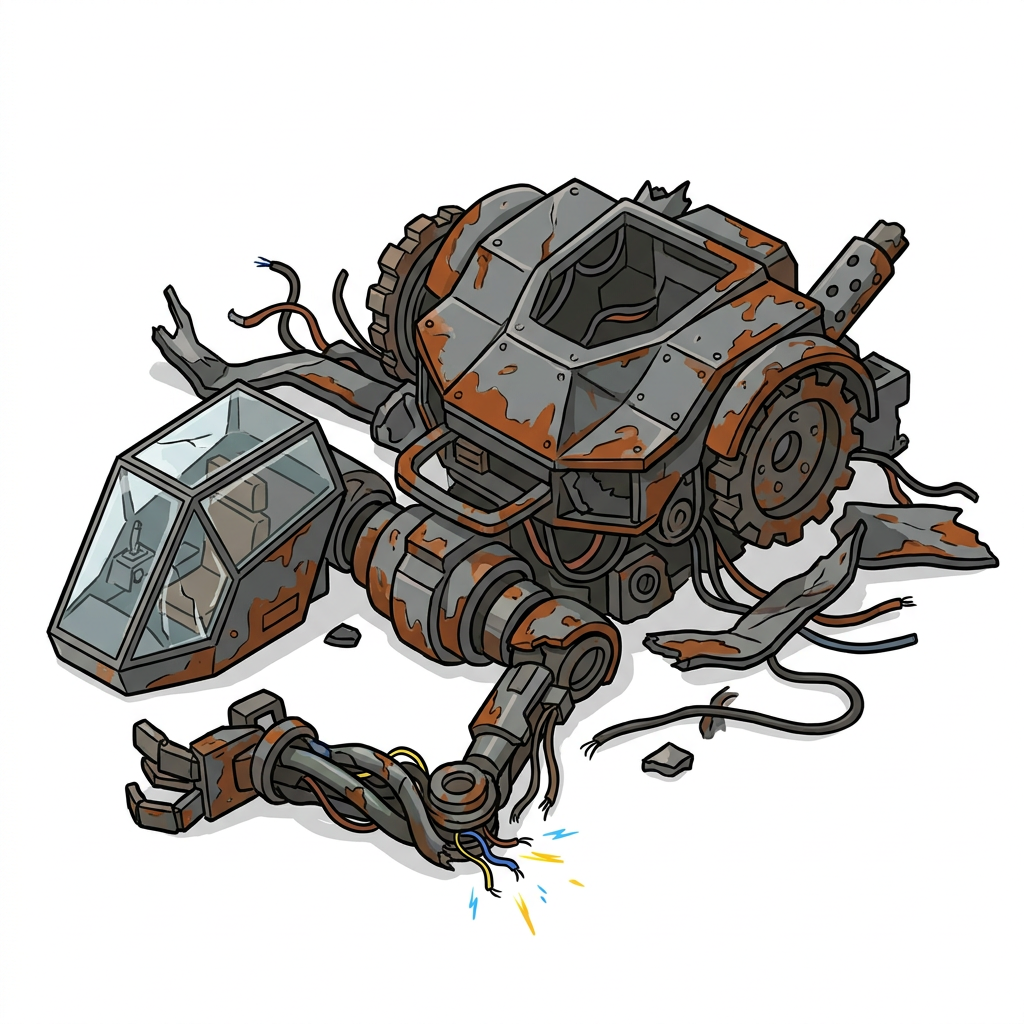
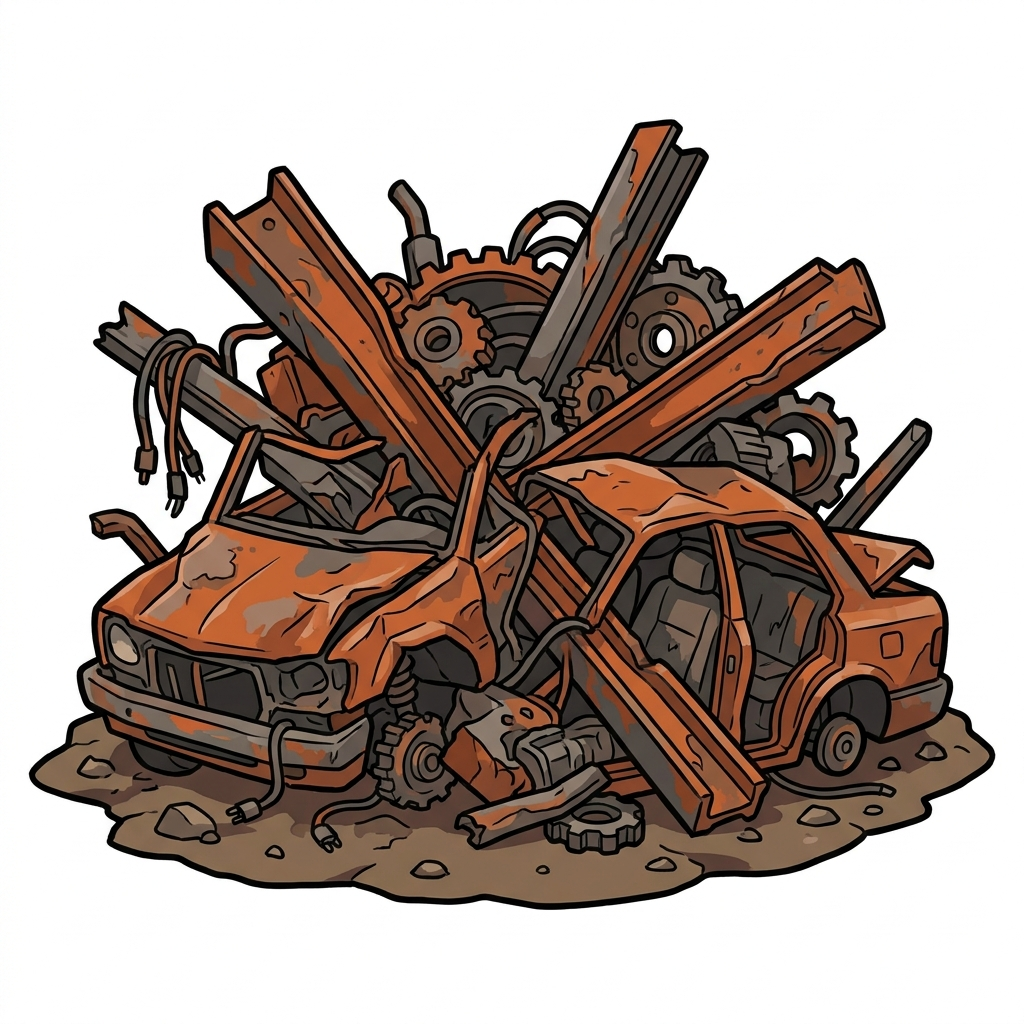
Wreckage
Destroyed vehicle hulks and collapsed structures. Blocks line of sight and movement. Some wreckage can be harvested for bonus scrap.
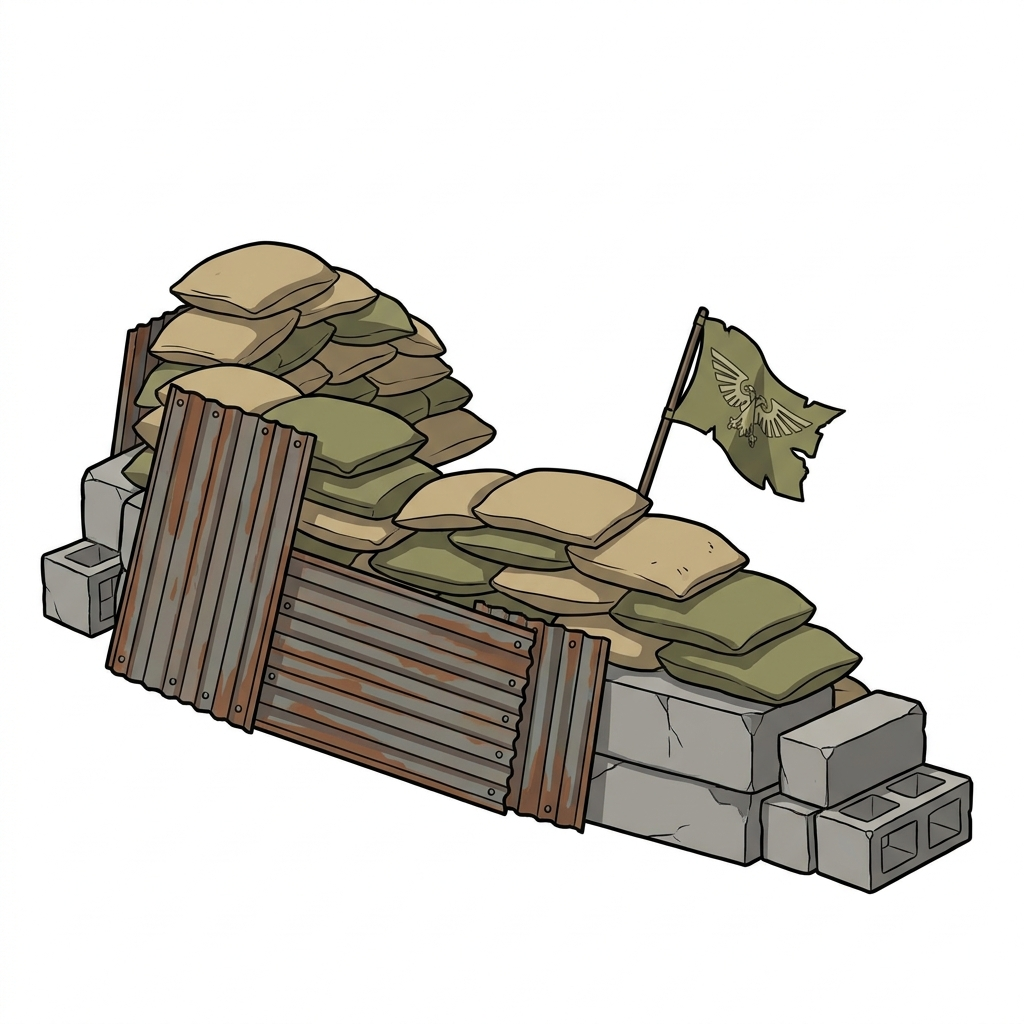
Barricade
Makeshift defensive walls assembled from debris. Provides hard cover and channeling for defensive positioning. Can be destroyed by siege units.
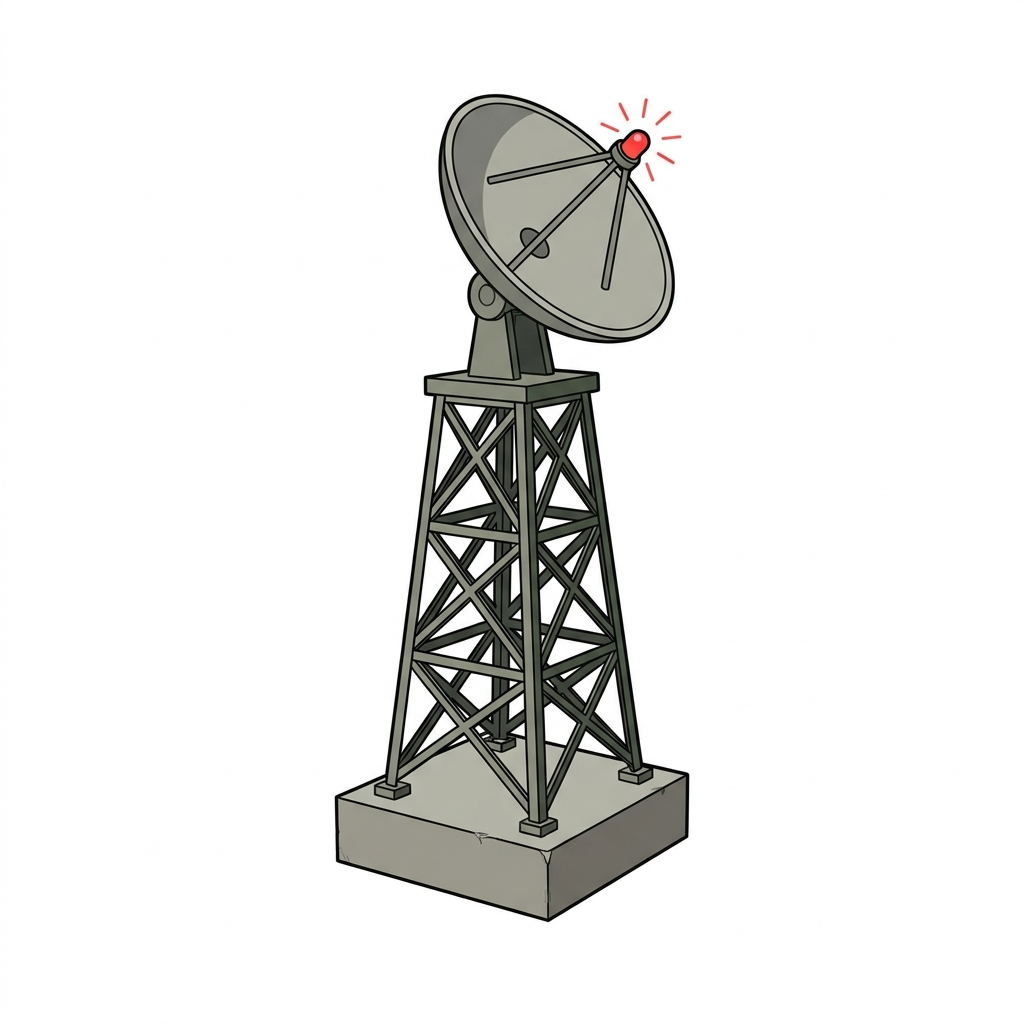
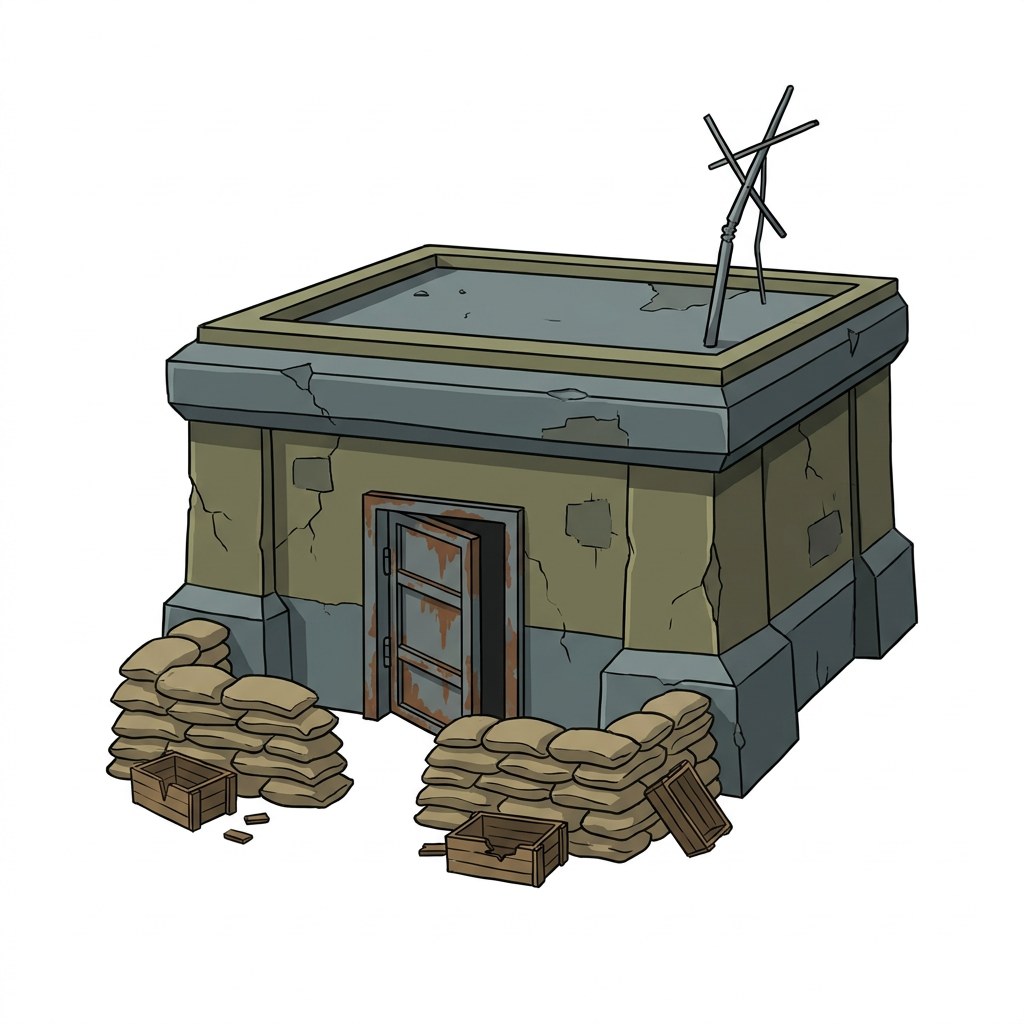
Comm Tower
Surviving communication relay tower. Controlling one expands fog-of-war visibility radius and enables calling in harvester reinforcements faster.
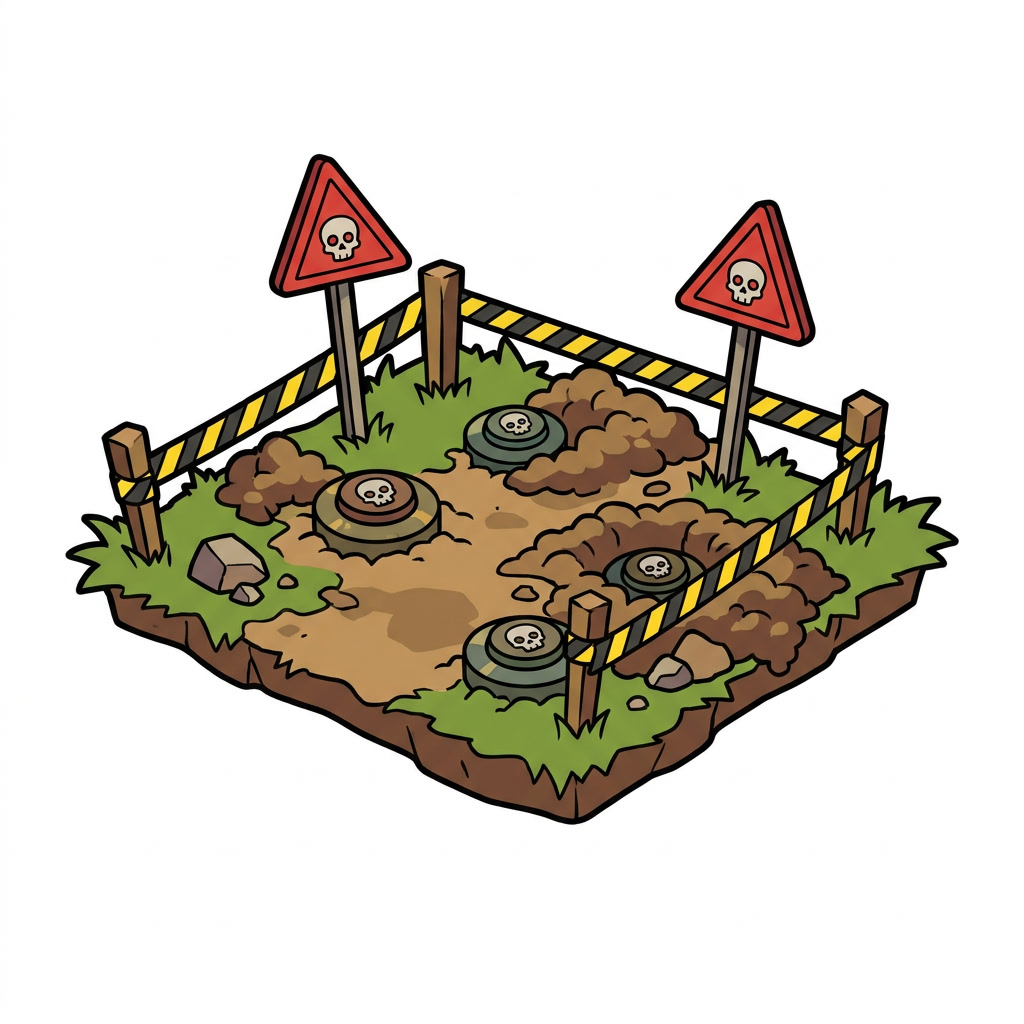
Minefield
Area scattered with unexploded ordnance. Damages any unit passing through — friend or foe. Can be cleared by Scout mechs or engineering abilities.
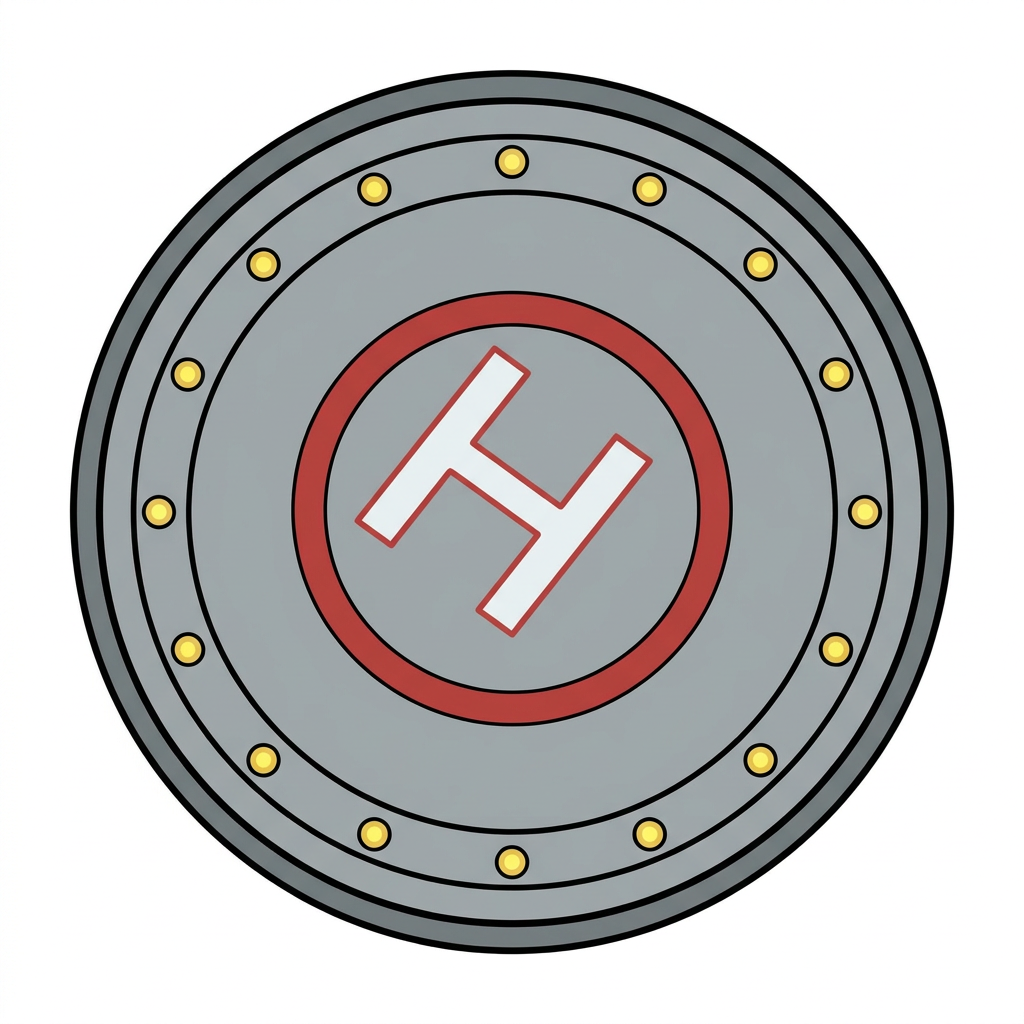
Landing Pad
Intact helicopter/dropship landing zone. Serves as a forward deployment point for reinforcements and enables faster harvester cycling in the area.
Producer & Repair Buildings
Player-built structures that enhance harvesting efficiency and keep your fleet operational.
Salvage Beacon (Producer T1)
Player-built structure that attracts nearby harvesters and boosts their collection rate. First building available in the production chain.
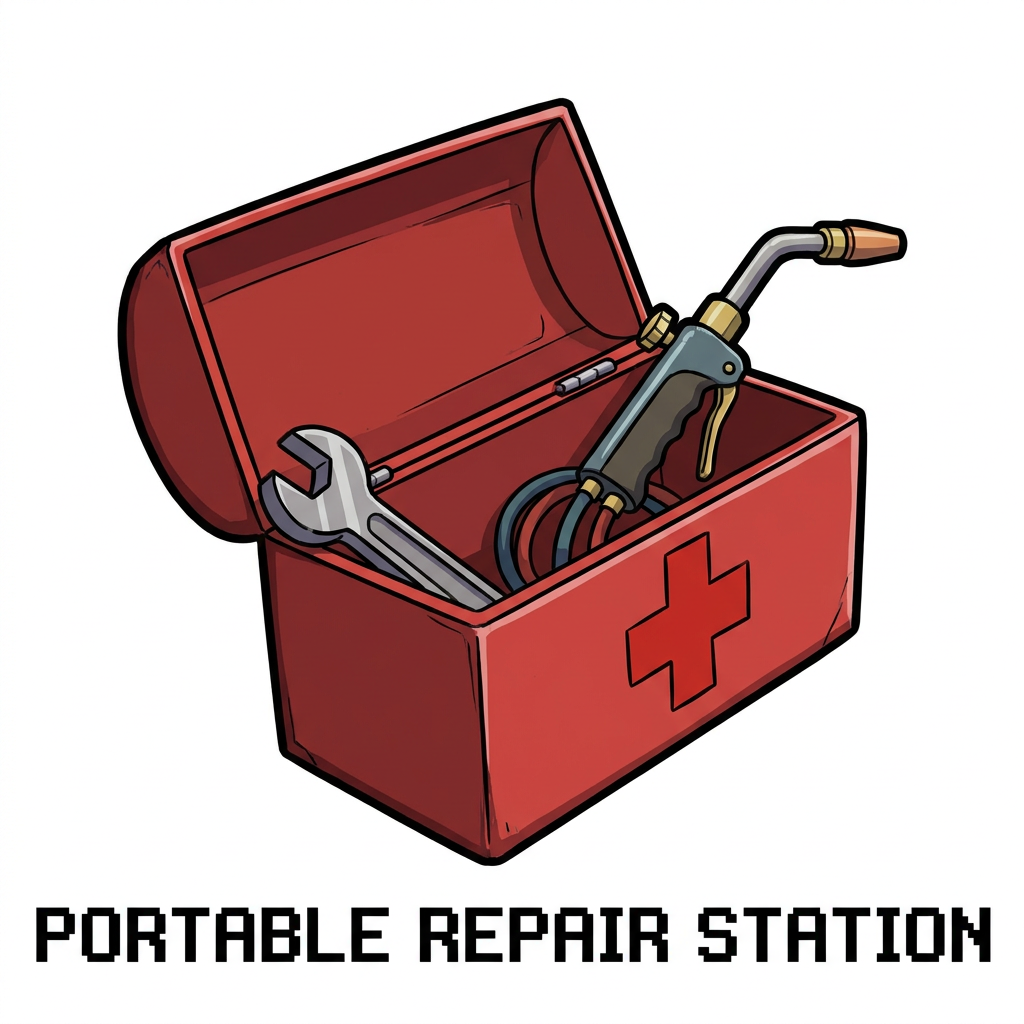
Field Kit (Repair T1)
Mobile repair station that patches up damaged harvesters in the field. Prevents costly losses and keeps your collection fleet running at full capacity.
Asset Summary
🗺️ All 17 world assets generated and ready for integration into the game map system. Next: tile-based map composition and biome variations.